

在目前的分子可视化软件中,ovito可以说是最符合现代软件设计思路的,具有丰富的功能和优秀的GUI。
ovito的python库可以完成ovito中的所有操作,并且包括那些只有在ovito Pro中才有的功能,例如除了OpenGL以外的渲染器。
此外,采用python脚本的方式还允许我们批量处理大量的分子结构渲染工作,并保持统一的参数设置和质量,例如原子颜色、原子半径、摄像机位置,角度,光照条件等。
此文给出一个最简单的脚本,讨论如何使用Python的Ovito库,通过多种渲染引擎创建精美的分子结构可视化图像。
环境准备
首先我们需要一个python环境,并安装ovito模块
使用conda:
conda install --strict-channel-priority -c https://conda.ovito.org -c conda-forge ovito=3.12.0或使用pip:
pip install ovito参考官方链接:
https://www.ovito.org/manual/installation.html
代码解析
1. 导入必要模块
from ovito.io import import_file
from ovito.vis import Viewport, TachyonRenderer, OpenGLRenderer, OSPRayRenderer, AnariRenderer
import os
import math
from ovito.modifiers import CreateBondsModifier
2. 数据导入和视觉效果调整
input_file = "AlN_GaN.extxyz"
pipeline = import_file(input_file)
pipeline.add_to_scene()
# 创建化学键
bonds_mod = CreateBondsModifier()
bonds_mod.cutoff = 2.0
bonds_mod.vis.width = 0.6
pipeline.modifiers.append(bonds_mod)
data = pipeline.compute()
# 设置边框颜色
data.cell.vis.rendering_color = (0.2, 0.2, 0.2)
# 设置原子半径缩放
data.particles.vis.scaling = 0.6
3. 设置相机视角
vp = Viewport(
    type=Viewport.Type.Perspective,
    camera_pos=(28.9877, -30.8681, 28.5658),
    camera_dir=(-0.448588, 0.796163, -0.40607),
    fov=math.radians(35)
)
4. 设置渲染引擎
# 定义渲染器及其参数
renderers = {
    "Tachyon": TachyonRenderer(
        ambient_occlusion=True,
        ambient_occlusion_brightness=0.8,
        ambient_occlusion_samples=20,
        shadows=True,
        direct_light=True,
        direct_light_intensity=0.9,
        antialiasing=True,
        antialiasing_samples=12,
        depth_of_field=False,
        focal_length=0.5,
        aperture=0.1,
        max_ray_recursion=4,
    ),
    "OpenGL": OpenGLRenderer(antialiasing_level=4, order_independent_transparency=True),
    "OSPRay": OSPRayRenderer(
        samples_per_pixel=16,
        ambient_light_enabled=True,
        ambient_brightness=0.3,
        direct_light_enabled=True,
        direct_light_intensity=0.8,
        denoising_enabled=True,
        sky_light_enabled=True,
        sky_brightness=1.5,
    ),
    "VisRTX": AnariRenderer(ambient_light_radiance=0.7),
}
5. 批量渲染
os.makedirs(output_dir, exist_ok=True)
# 使用不同渲染器渲染并保存图像
for name, renderer in renderers.items():
output_file = os.path.join(output_dir, f"{name}.jpg")
if os.path.exists(output_file):
print(f"文件{output_file}已存在,跳过渲染。")
continue
print(f"正在渲染{name}...")
vp.render_image(
size=(4800, 4800),
filename=output_file,
renderer=renderer,
background=(1.0, 1.0, 1.0),
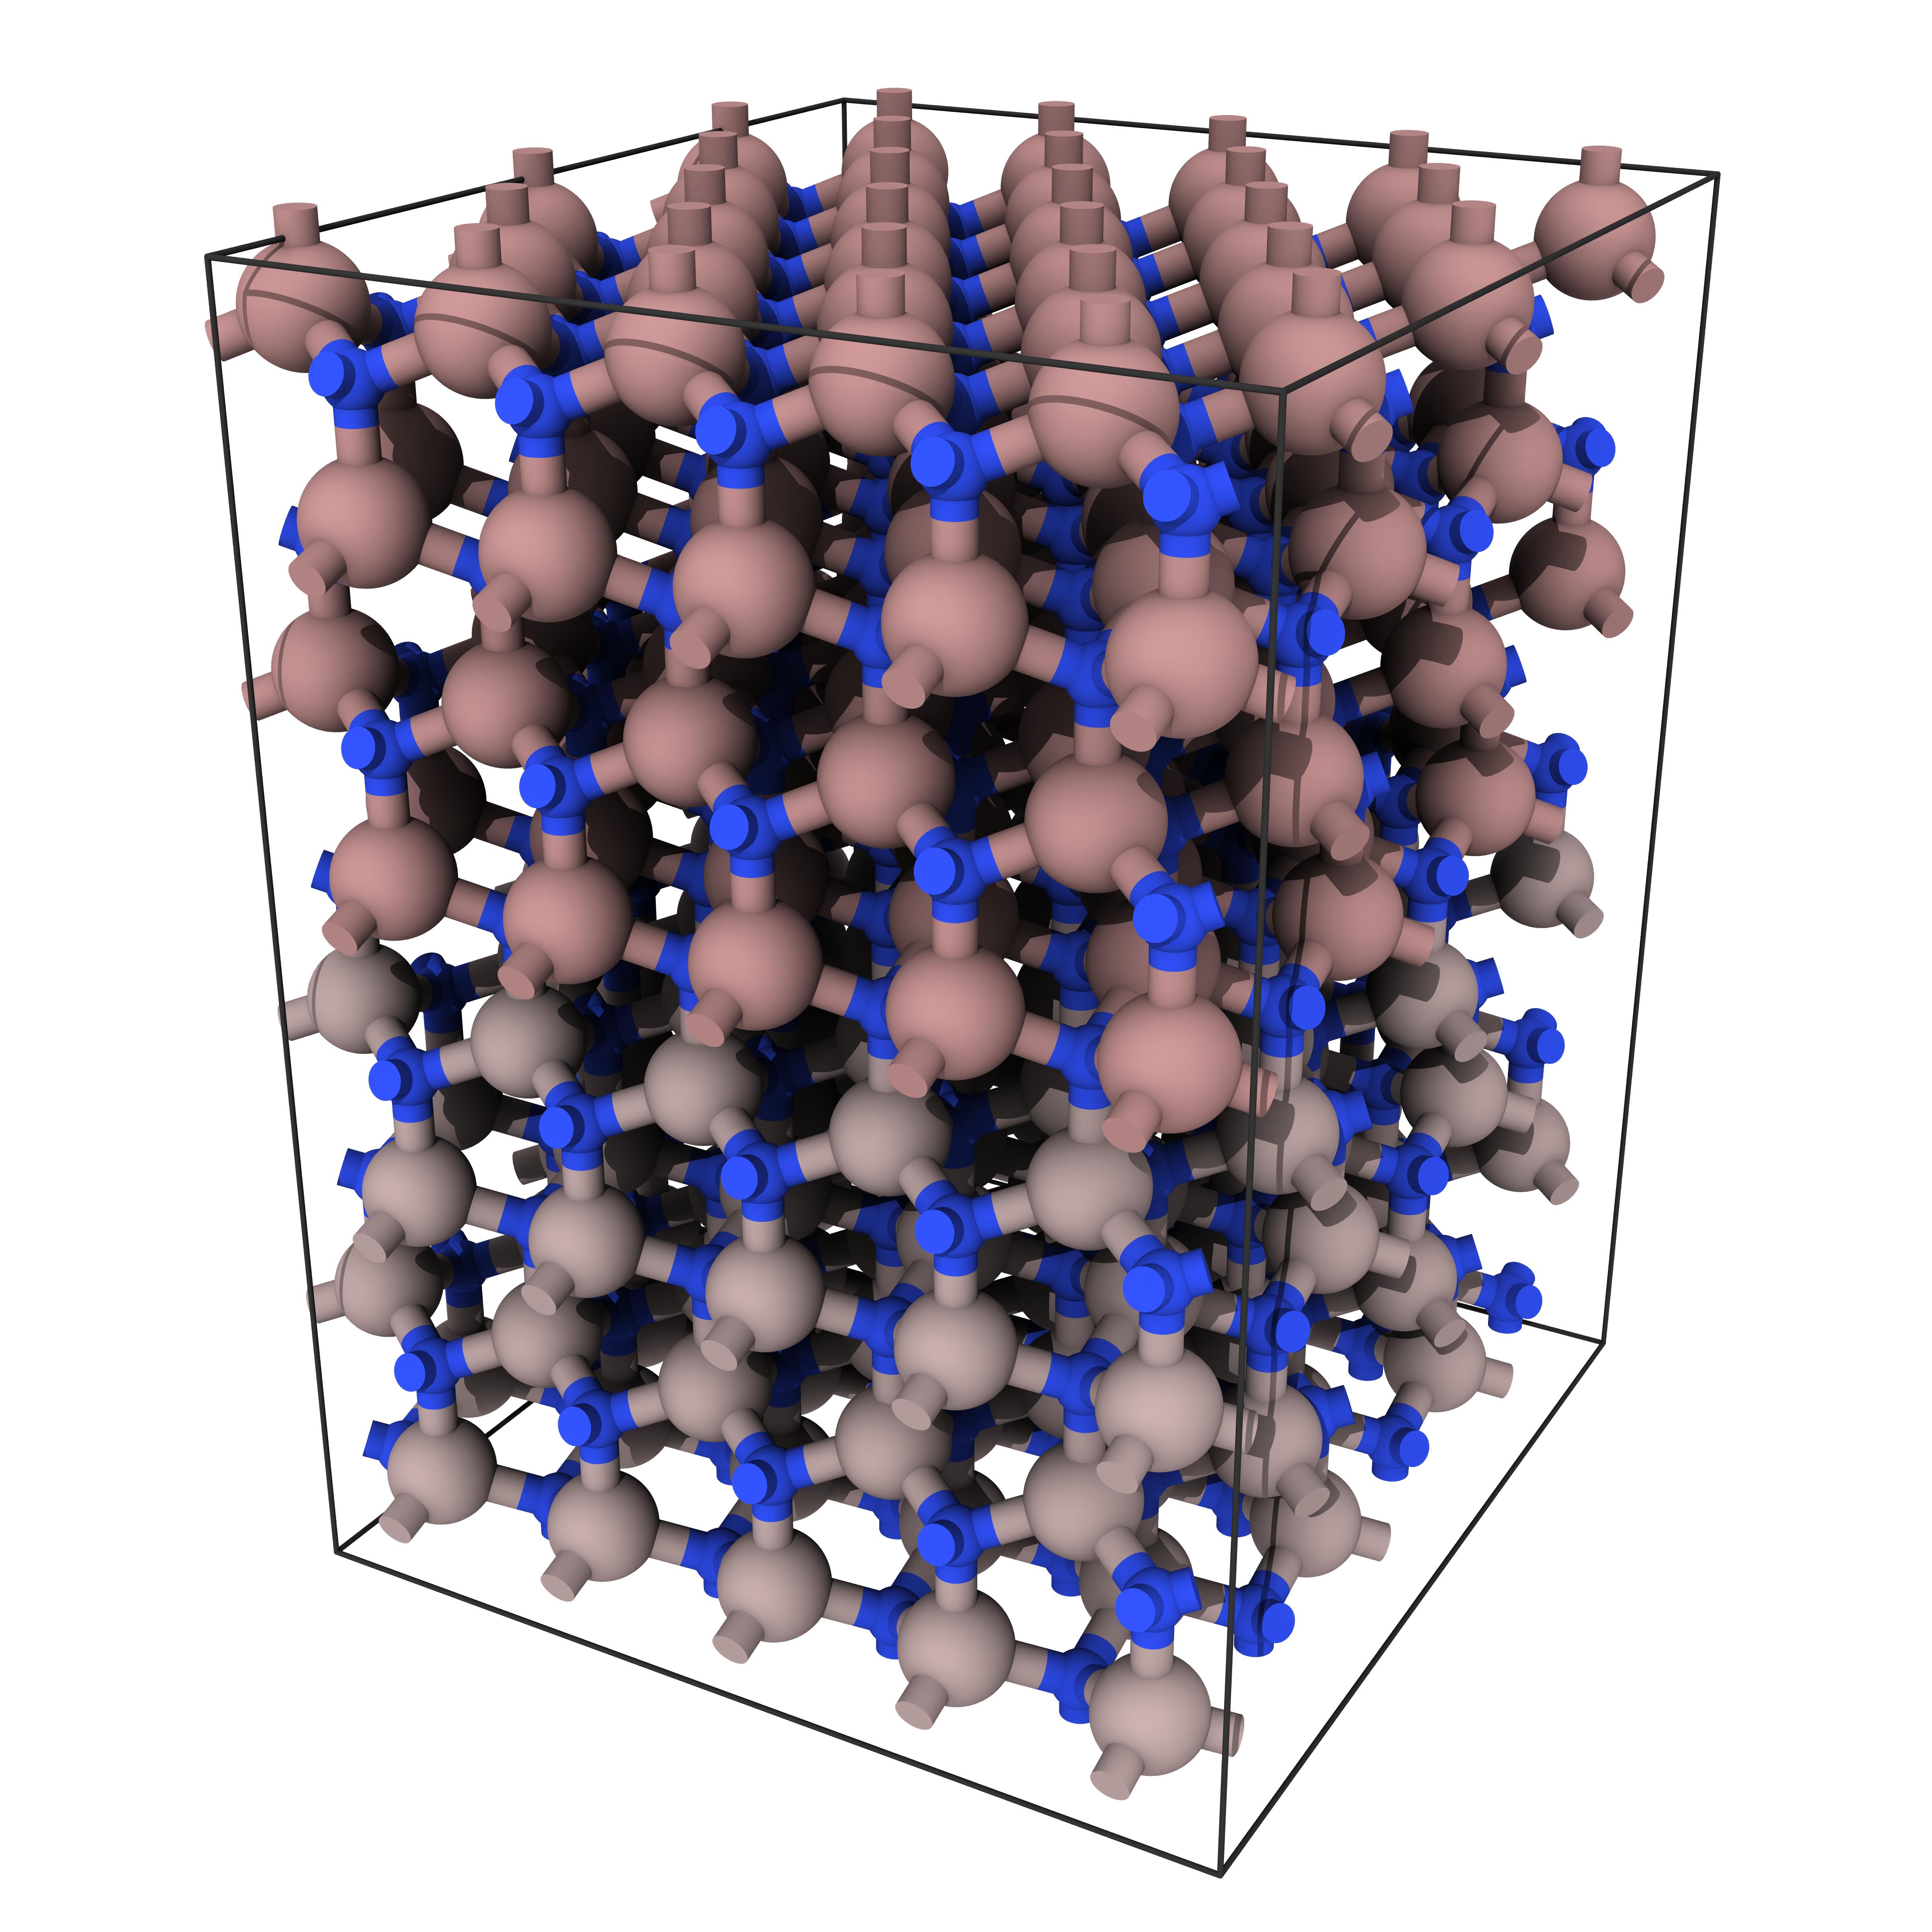
)渲染效果预览
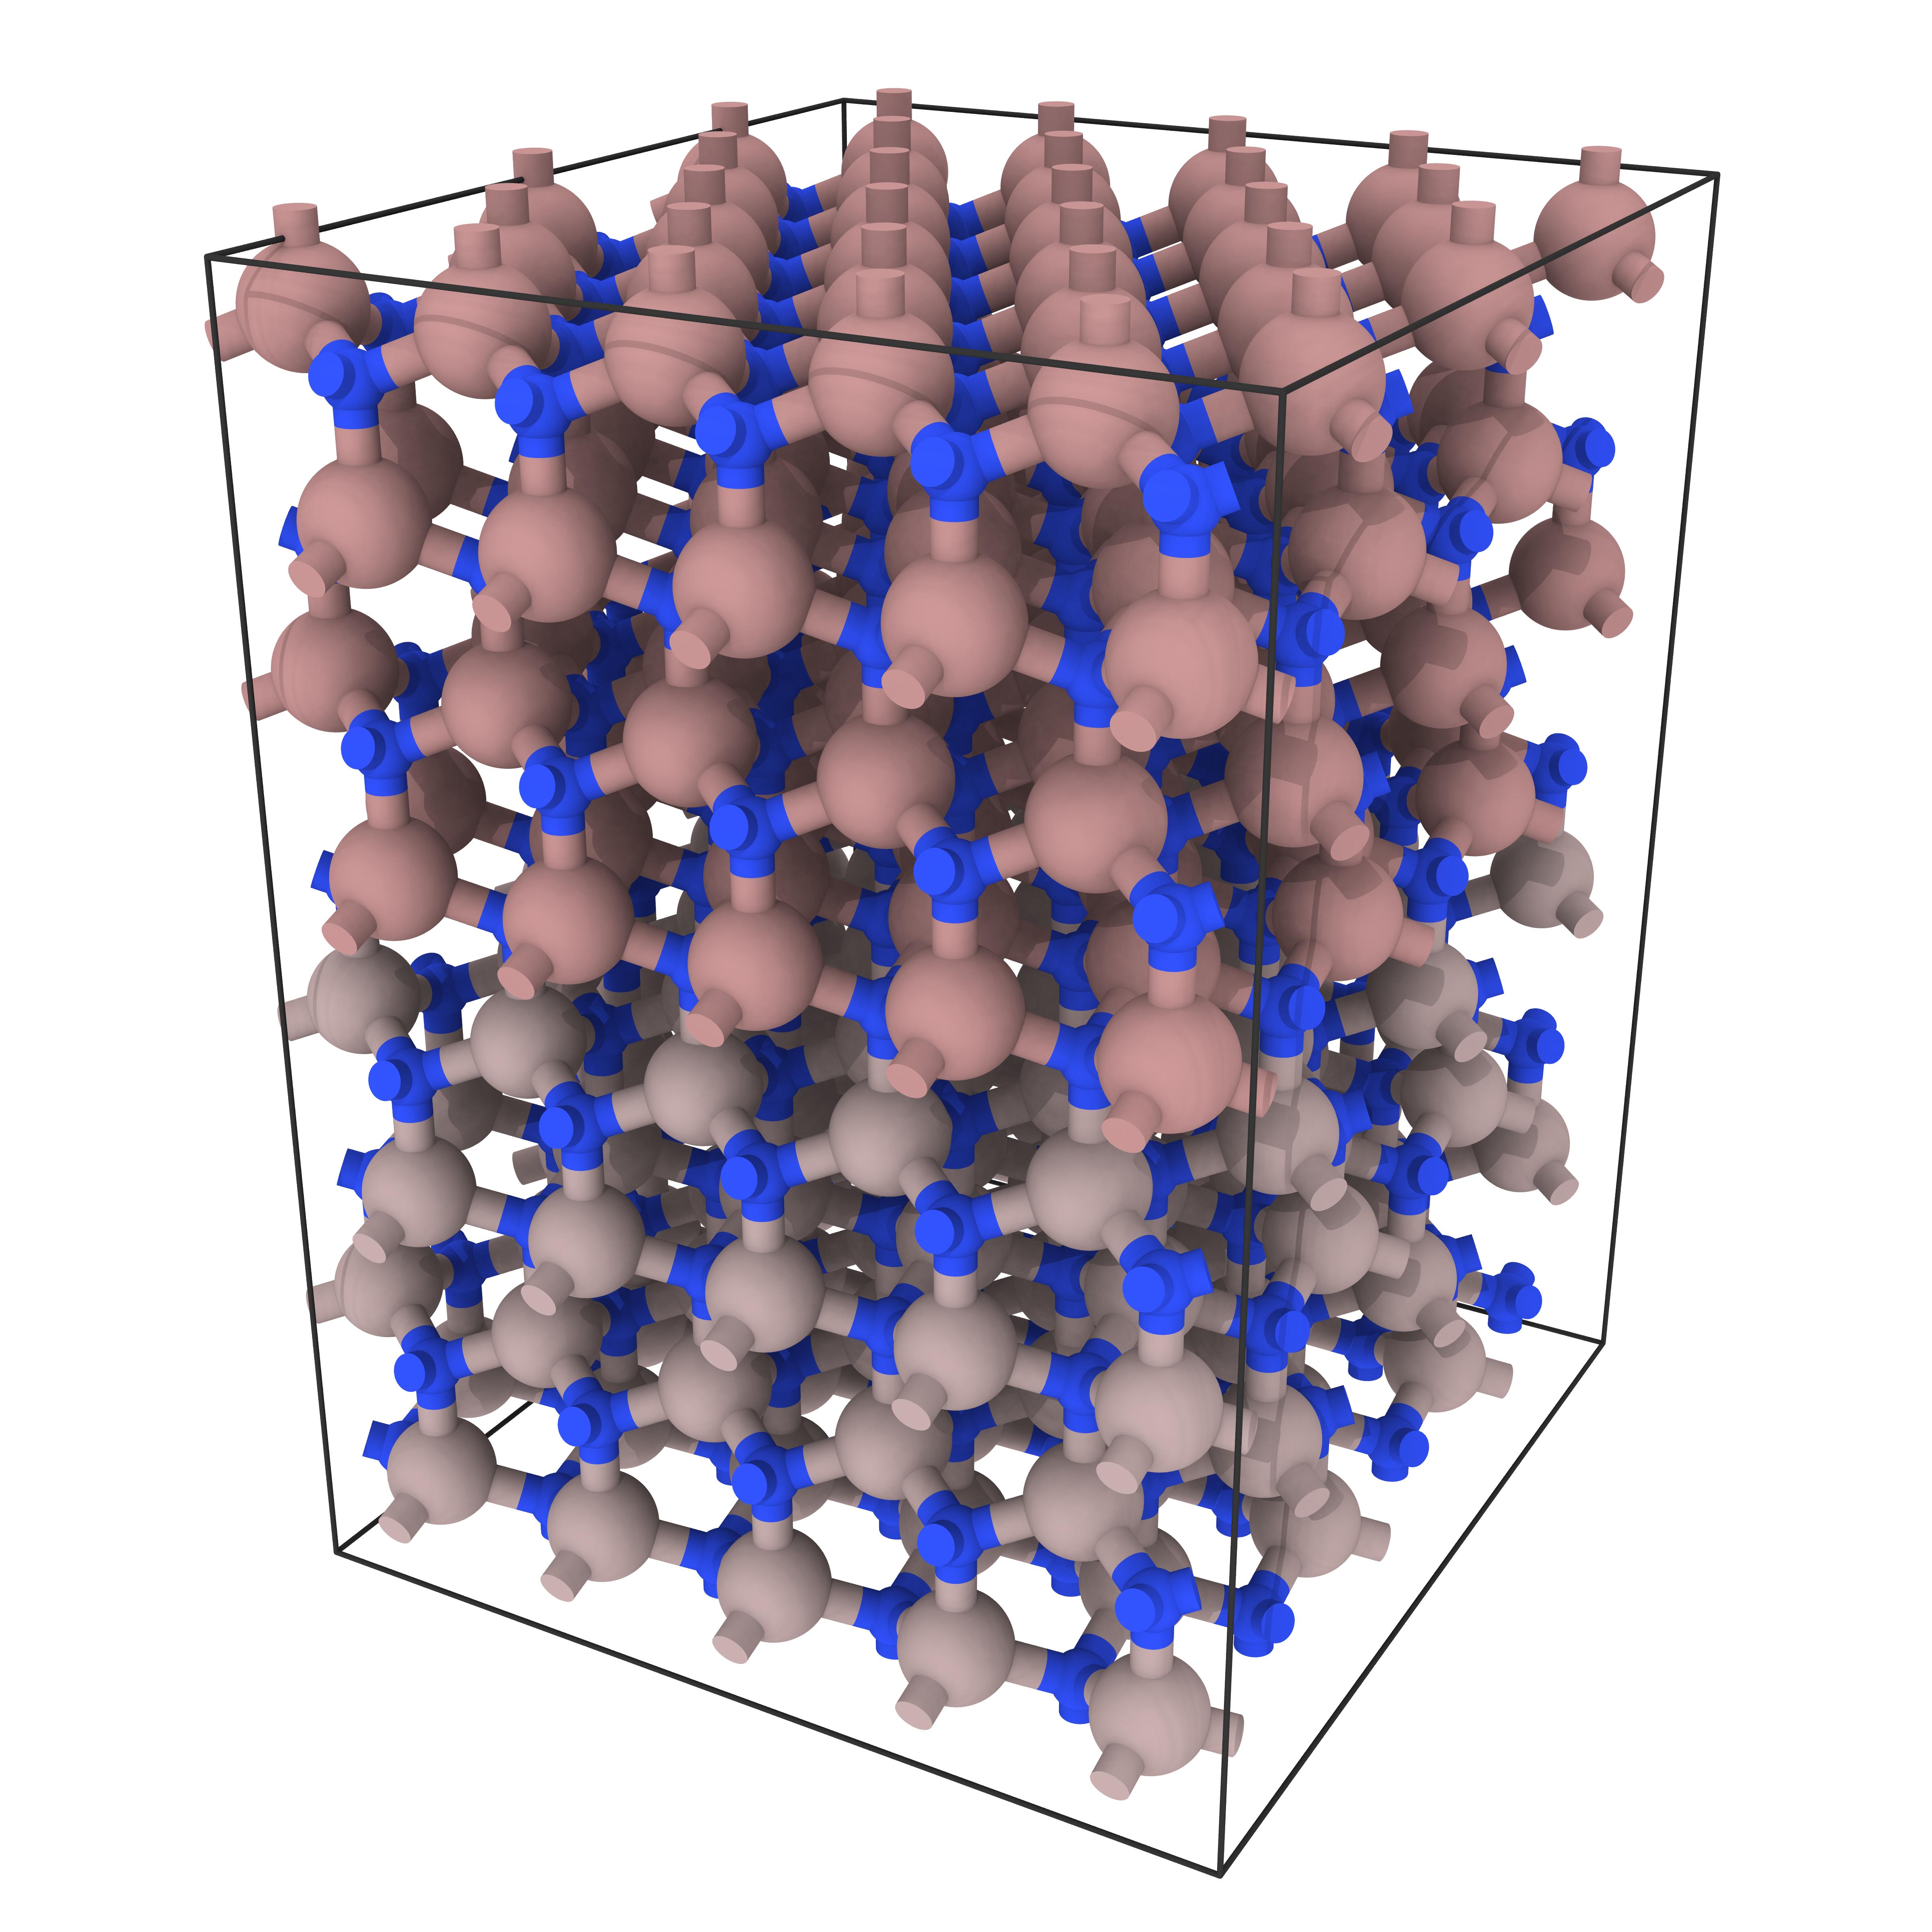
OpenGL:
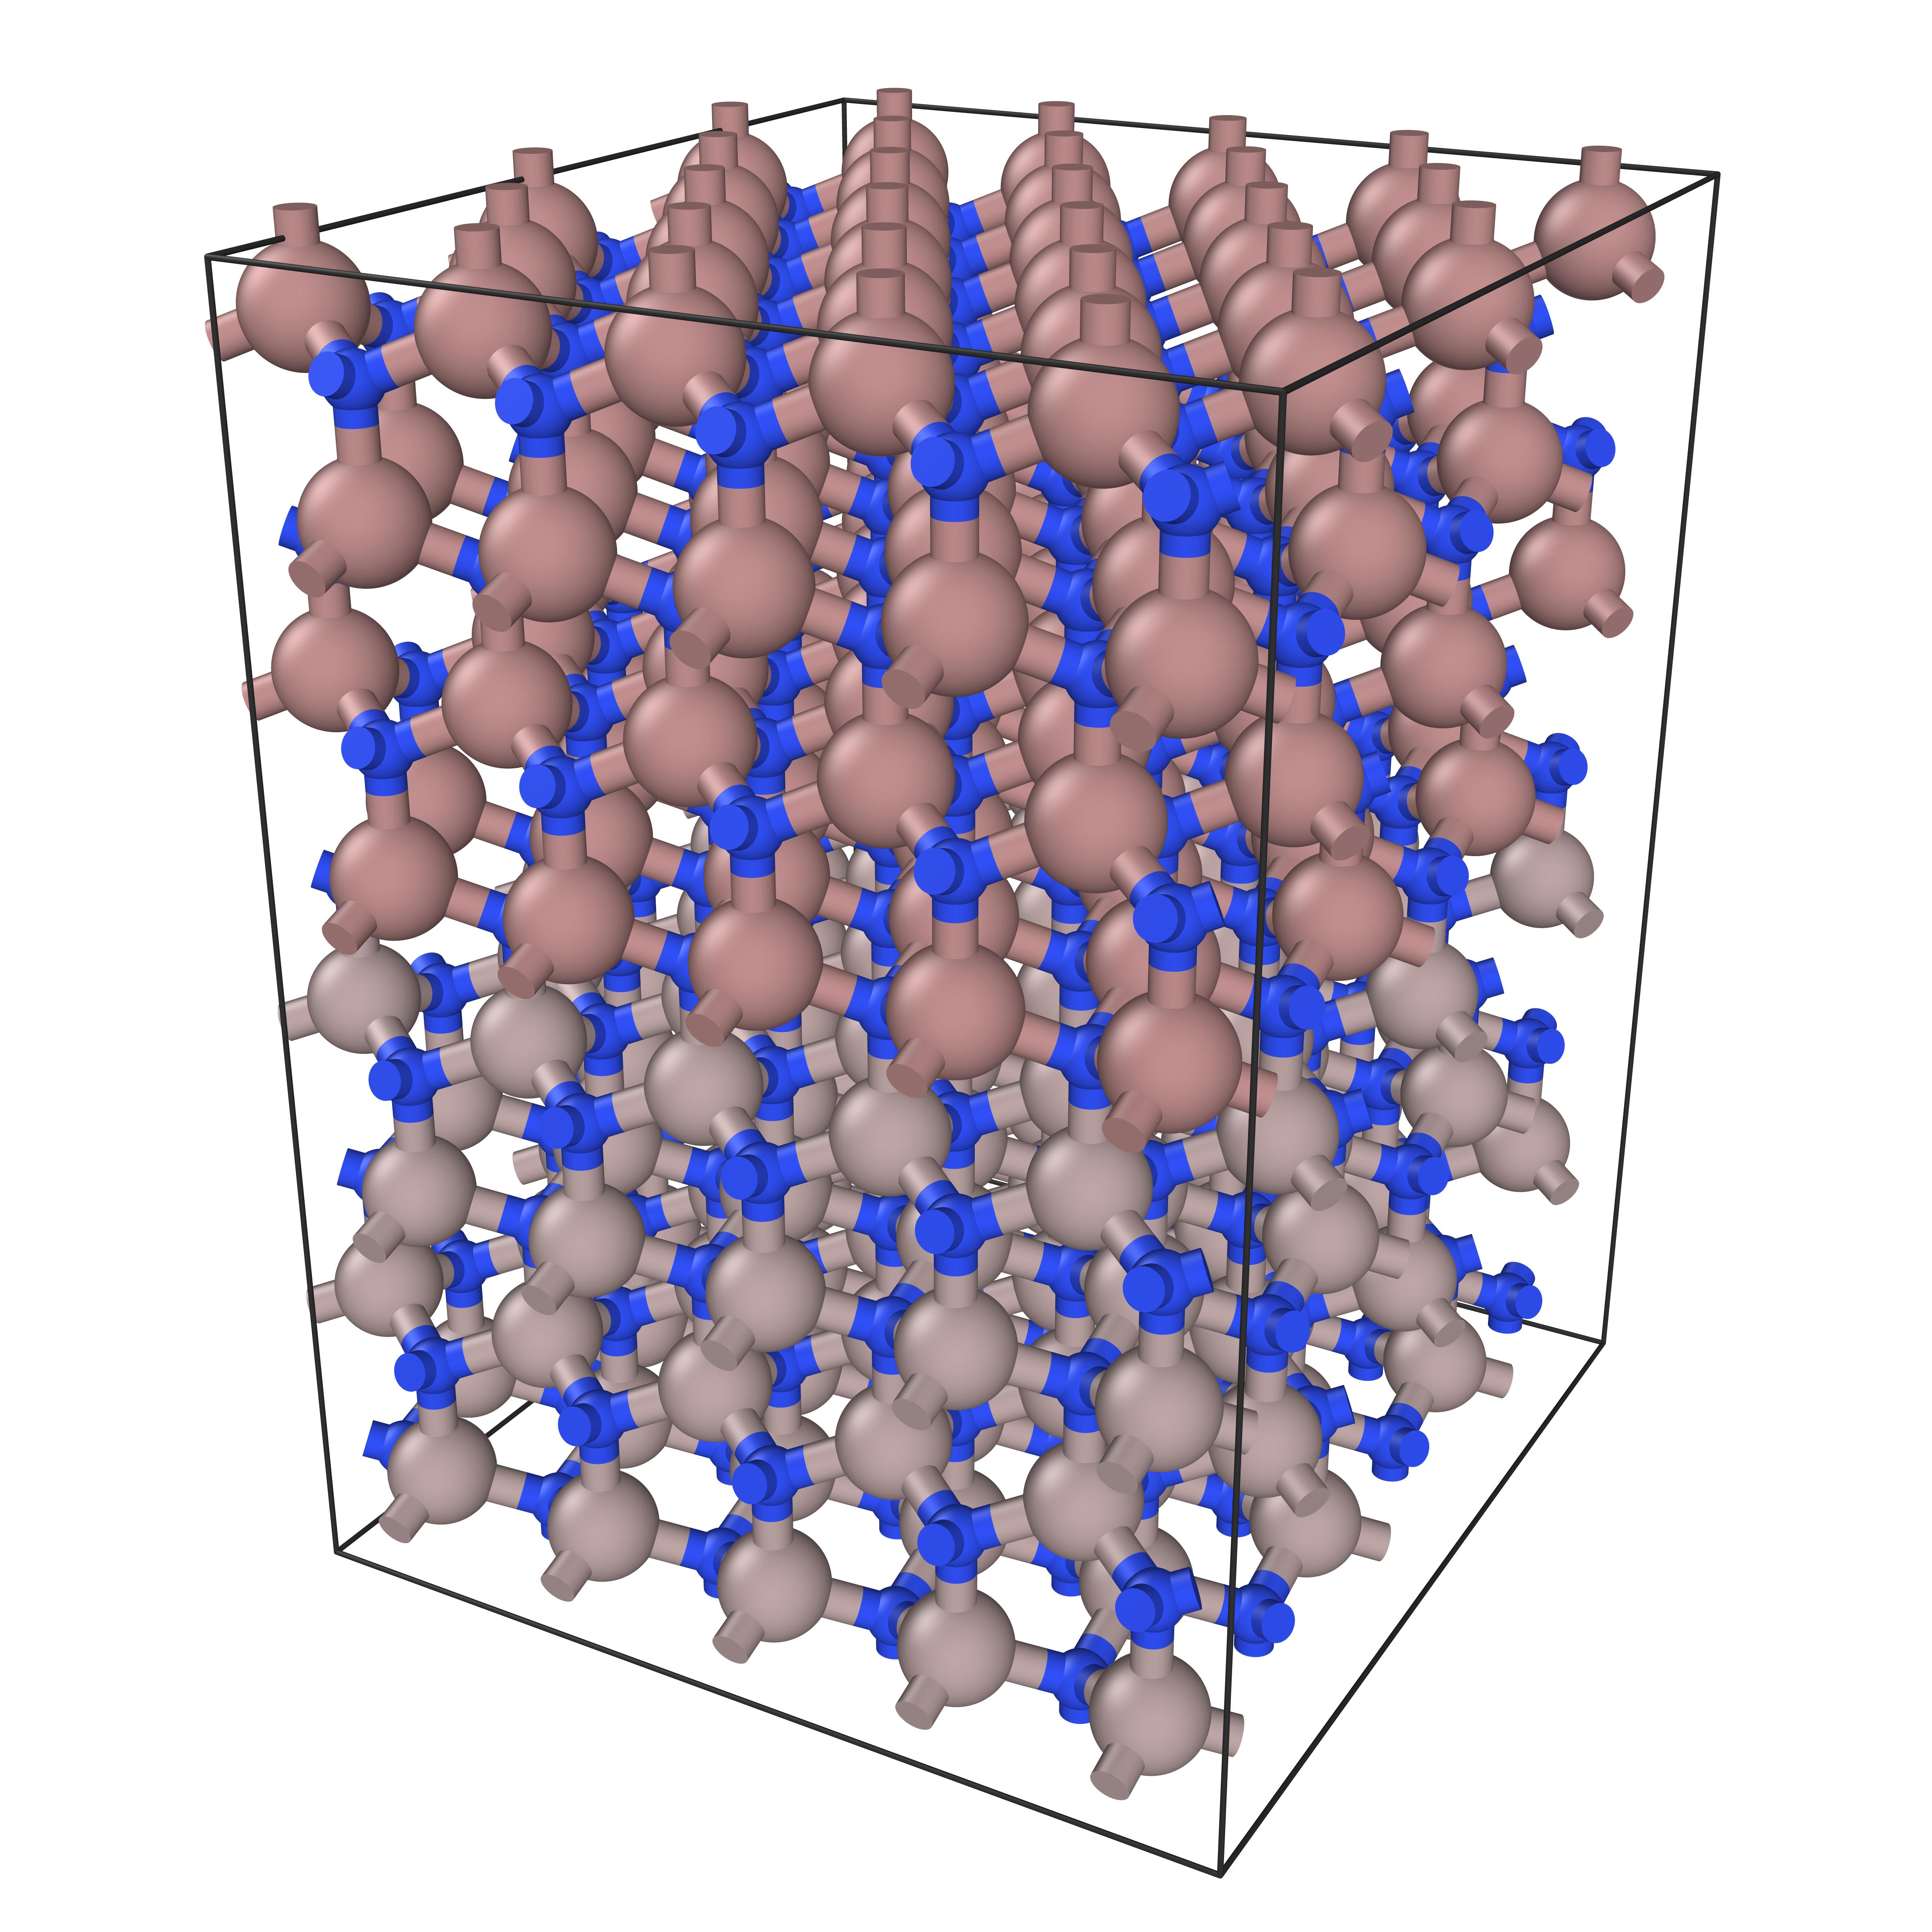
OSPRay:
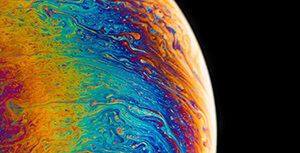
Tachyon:
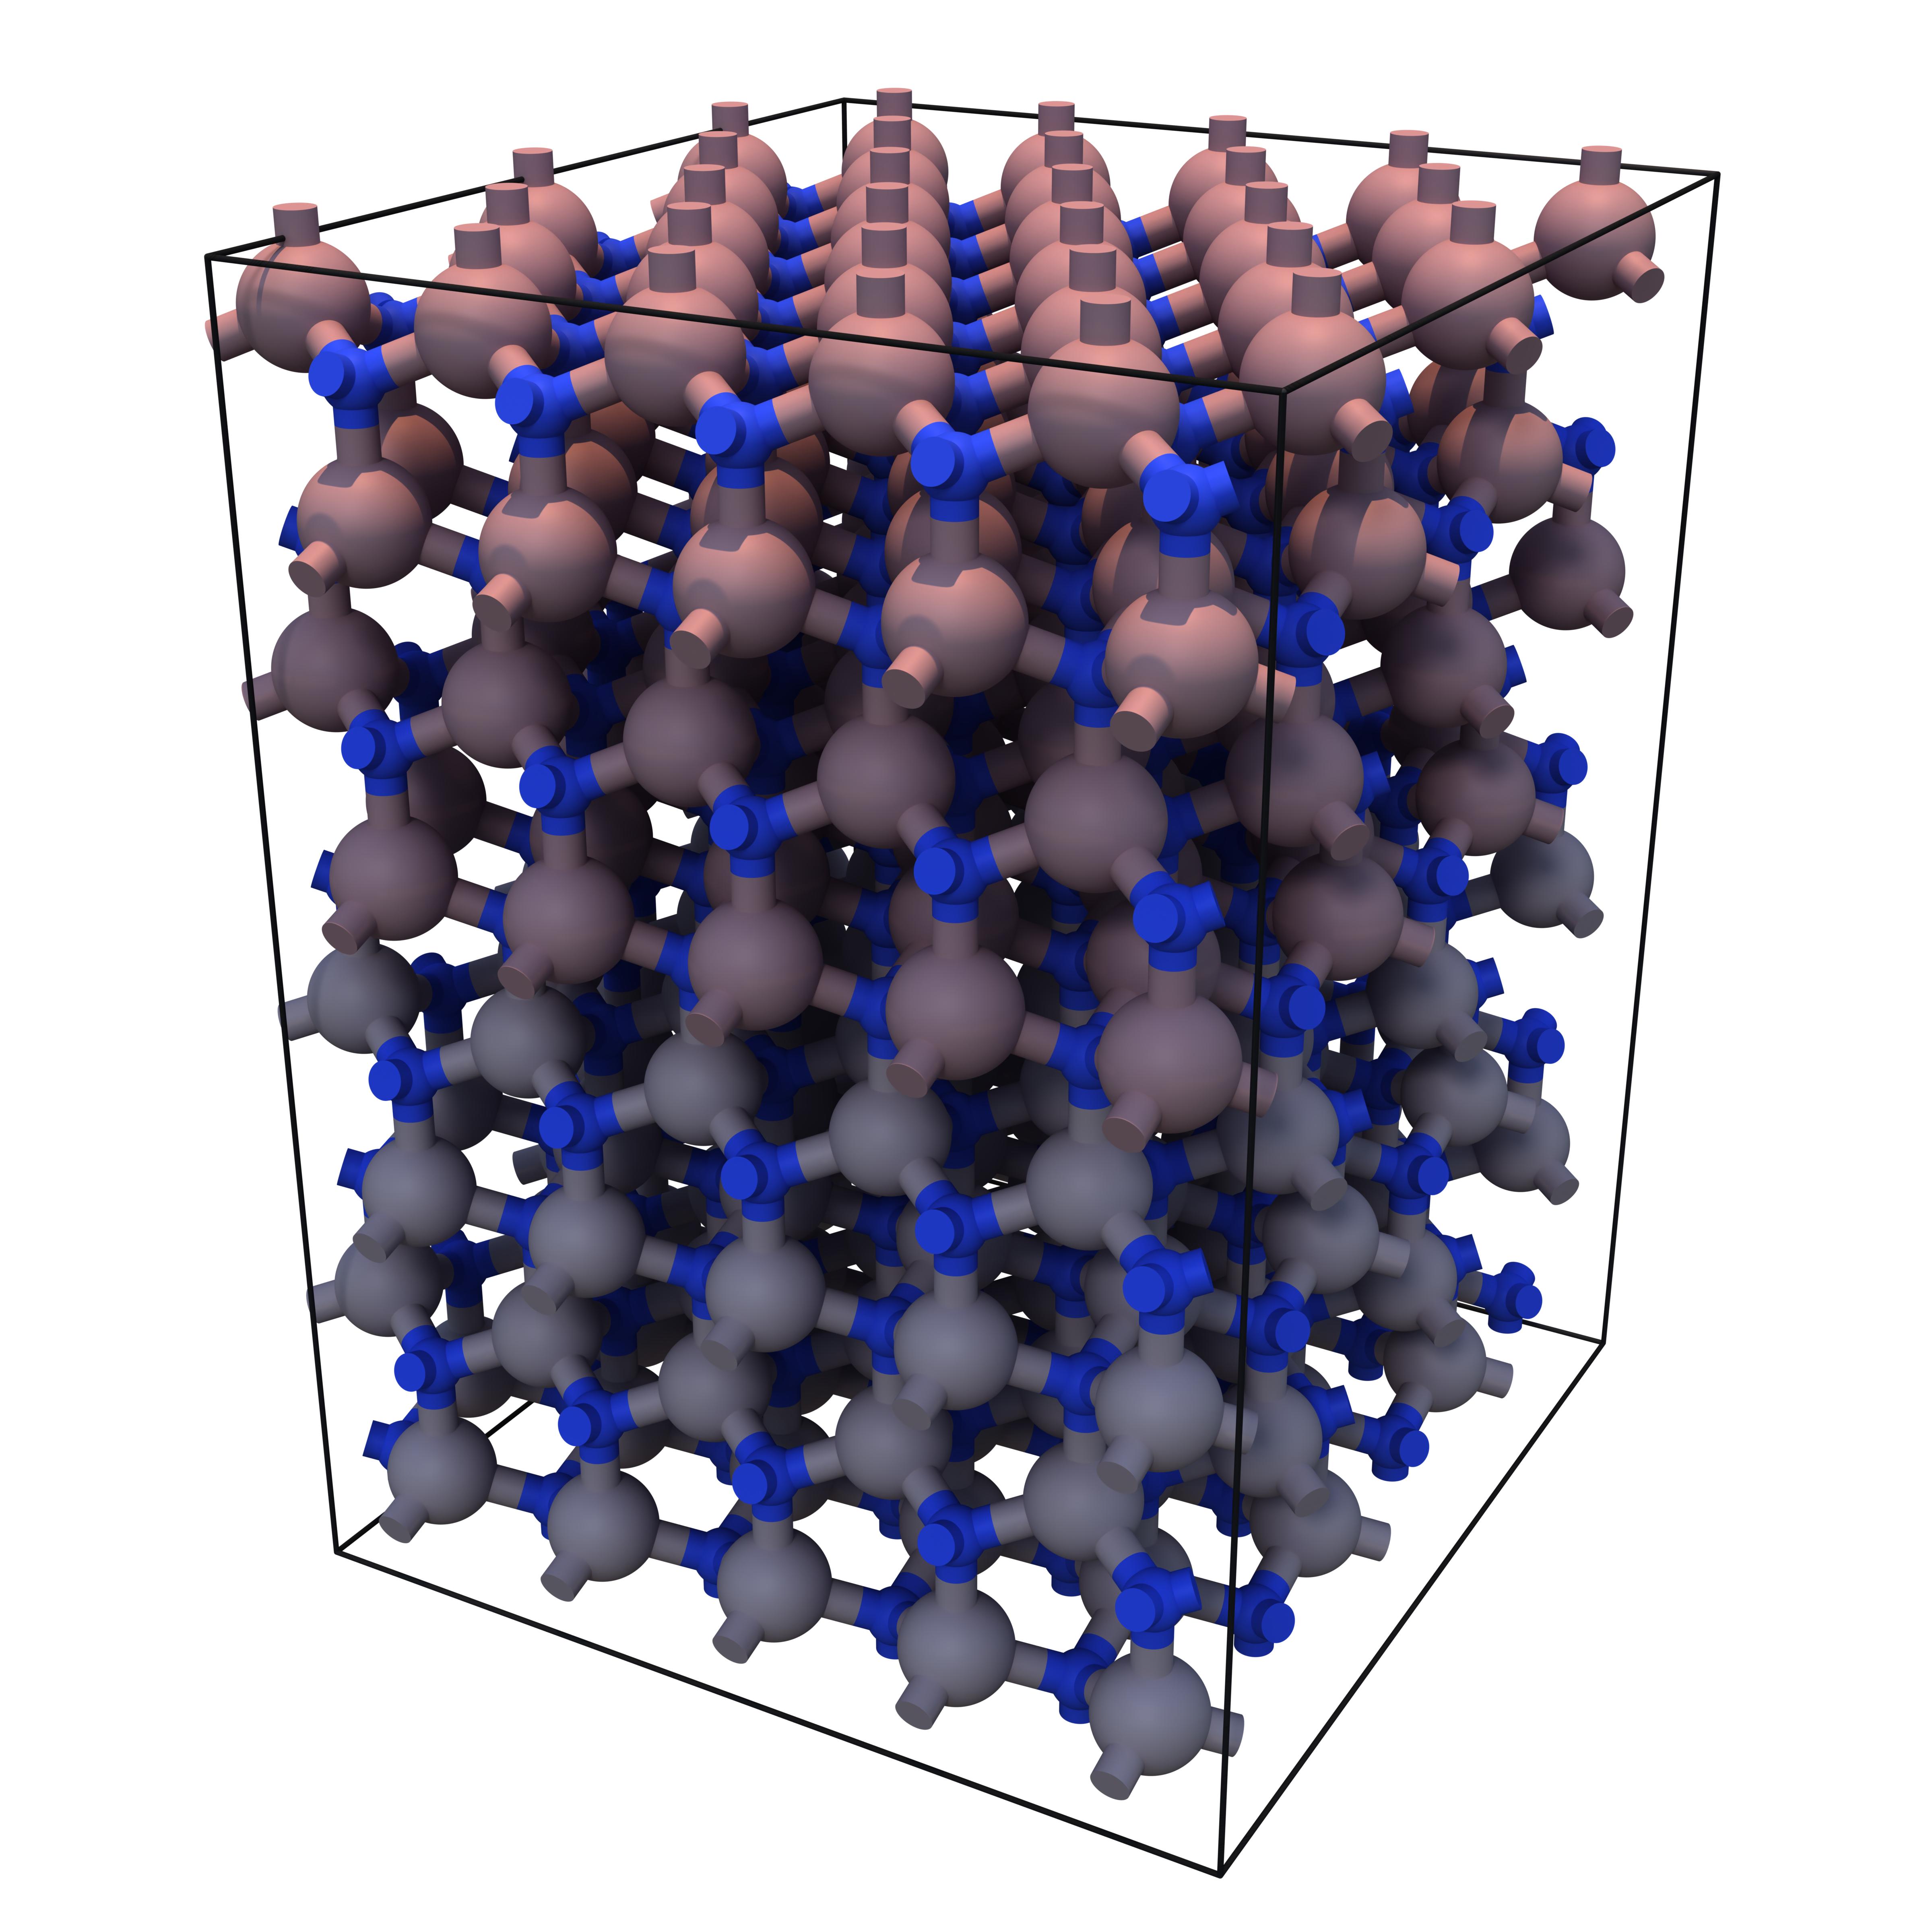
VisRTX:
评论区